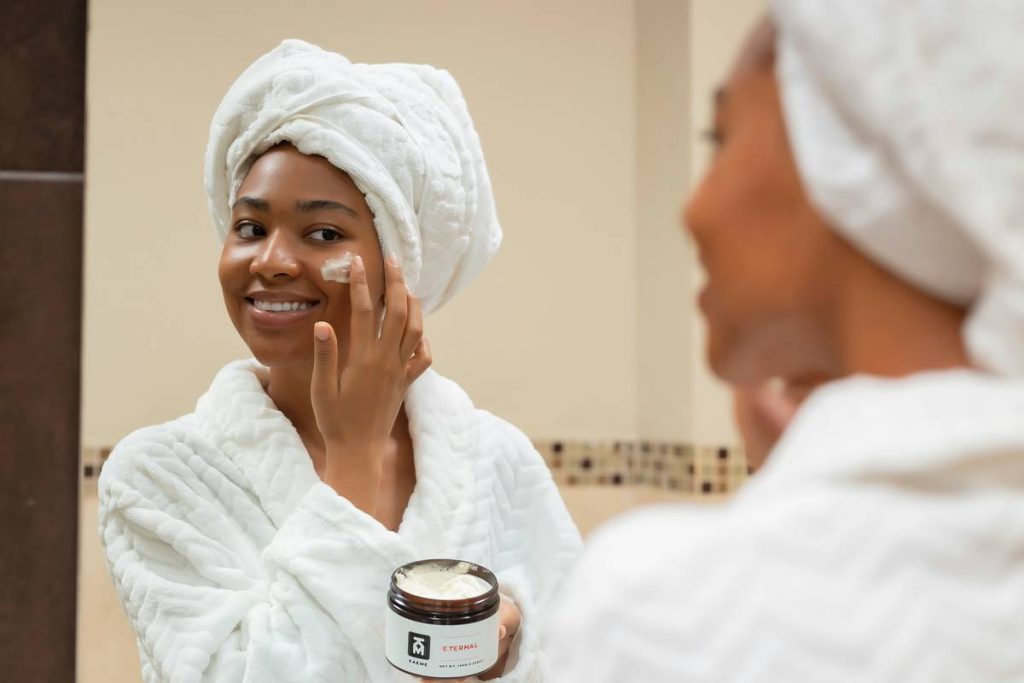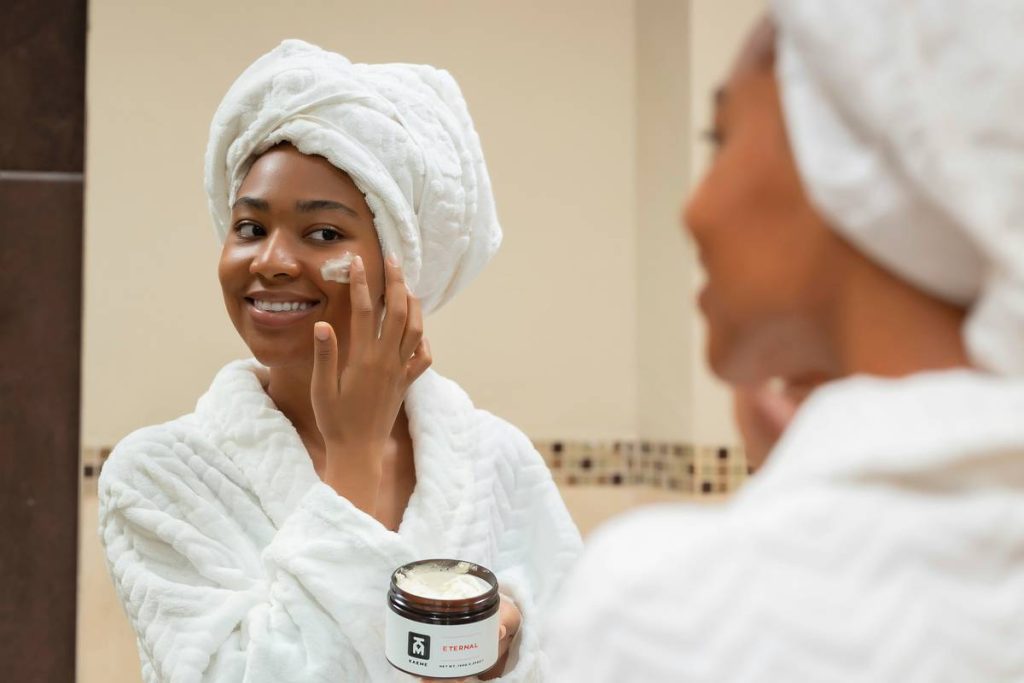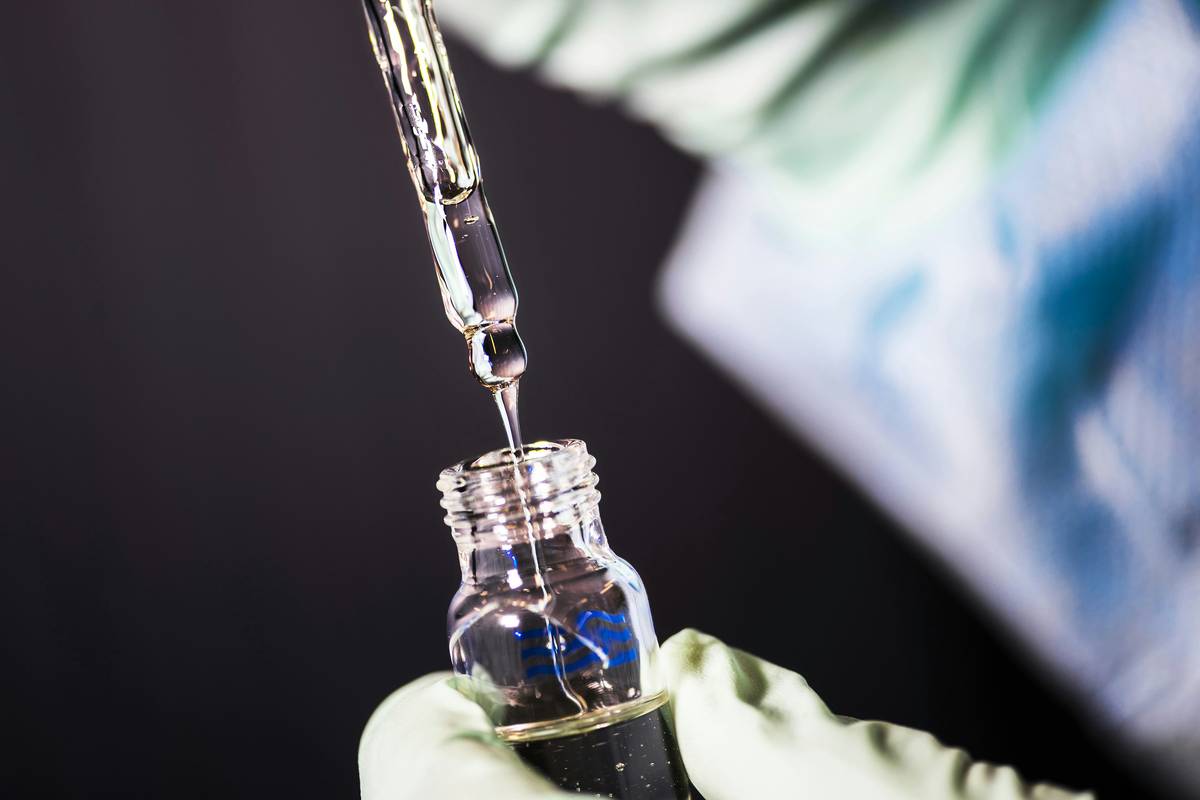
Ever slathered on a DIY face oil only to wake up with clogged pores or a fiery rash? You’re not alone. With the clean beauty movement booming, more people are ditching store-bought serums for homemade blends—but without the right know-how, your kitchen experiment can backfire fast. In this guide, we’ll walk you through exactly how to make face oil safely, effectively, and tailored to your skin’s unique needs. No fluff, no filler—just tested steps, expert-backed tips, and hard-won lessons (yes, I once used straight lemon essential oil… don’t be like me).
Table of Contents
- Why Face Oil Matters in Modern Skincare
- Step-by-Step Guide to Crafting Your Own Face Oil
- Best Practices for Safe, Effective Blends
- Real Results: What Happens When You Get It Right?
- Frequently Asked Questions
Key Takeaways
- Carrier oils (like jojoba or rosehip) form the base—never apply essential oils directly.
- Less is more: Start with 1–2 active ingredients to avoid irritation.
- Always patch-test for 48 hours before full-face application.
- Storage matters: Use amber glass bottles and keep blends in a cool, dark place.
- Homemade face oils can outperform commercial products—if formulated correctly.
Why Face Oil Matters in Modern Skincare
Contrary to old myths, oil doesn’t cause breakouts—it often prevents them. According to the American Academy of Dermatology, non-comedogenic oils help reinforce the skin barrier, lock in moisture, and reduce transepidermal water loss (AAD, 2023). Yet many over-the-counter moisturizers hide silicones, synthetic fragrances, and pore-clogging emulsifiers under “natural” labels.
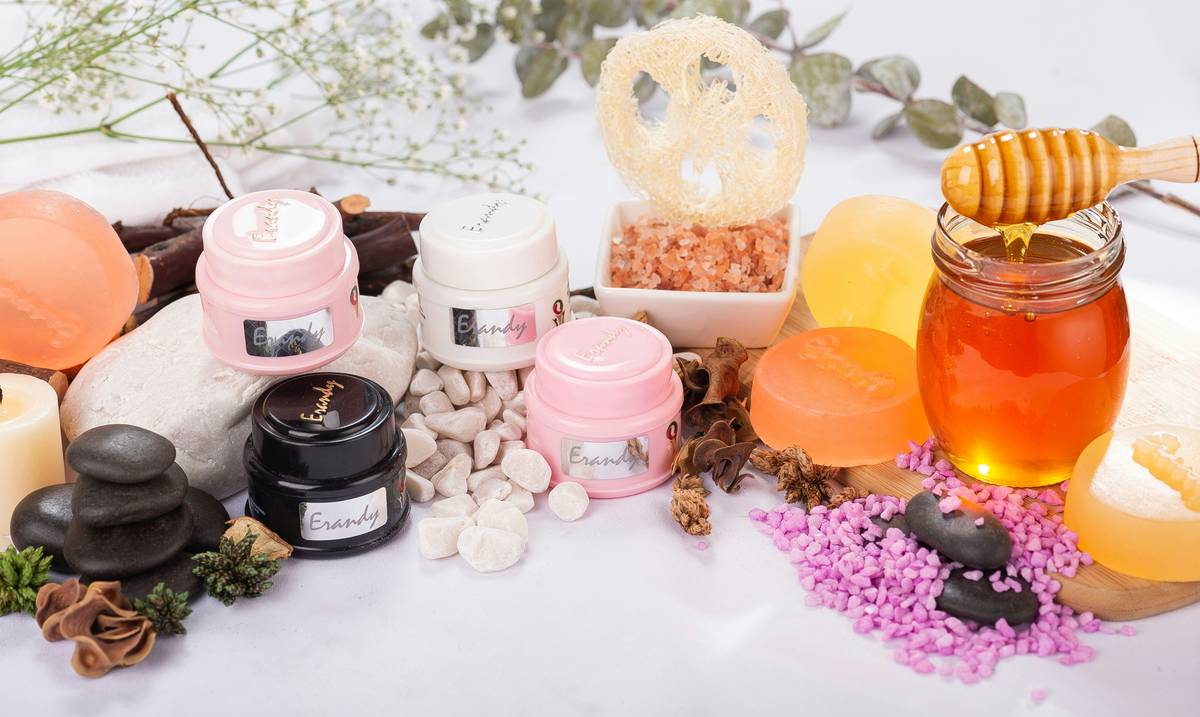
I learned this the hard way. Eager to save money, I mixed grapeseed oil with tea tree oil straight from the bottle—no dilution. Result? A red, itchy mess that took days to calm. That experience taught me: making face oil isn’t just mixing liquids; it’s chemistry with consequences.
Step-by-Step Guide to Crafting Your Own Face Oil
1. Choose Your Carrier Oil Base
Pick one primary carrier oil based on your skin type:
- Dry skin: Argan or avocado oil (rich in oleic acid)
- Oily/acne-prone: Jojoba or squalane (mimics sebum)
- Sensitive: Sunflower or calendula-infused oil (anti-inflammatory)
2. Select Active Botanicals (Optional but Powerful)
Add 1–2 drops per ounce of base oil of these proven actives:
- Rosehip seed oil (for vitamin A and scar fading)
- Sea buckthorn CO2 extract (for brightening—use sparingly!)
- Chamomile CO2 (soothes redness)
3. Essential Oils? Proceed with Extreme Caution
If using essential oils, never exceed 0.5–1% concentration (≈3–6 drops per ounce). Safe choices: lavender, frankincense, or geranium. Avoid citrus oils—they’re phototoxic. And for heaven’s sake, skip the cinnamon or oregano “natural remedies” trending on TikTok.
4. Mix, Bottle, and Label
Combine ingredients in a sterilized amber glass dropper bottle. Shake gently. Label with date and ingredients. Shelf life: 3–6 months.
Best Practices for Safe, Effective Blends
- Never skip the patch test: Apply a dime-sized amount behind your ear or inner arm. Wait 48 hours.
- Avoid water-based ingredients: Adding aloe or hydrosols to oil creates bacteria-friendly environments. Keep it anhydrous.
- Store properly: Heat and light degrade oils. Keep in a cabinet, not your sunny bathroom shelf.
- Use precise tools: Invest in graduated glass beakers and pipettes—kitchen spoons aren’t accurate enough.
Here’s a terrible tip I’ve seen online: “Just dump everything from your pantry into a jar.” Nope. Olive oil? Too heavy. Coconut oil? Highly comedogenic for many. DIY skincare demands respect for formulation science—not wishful thinking.
Real Results: What Happens When You Get It Right?
A 2021 study published in the Journal of Cosmetic Dermatology found that participants using a custom blend of jojoba, rosehip, and 0.8% lavender essential oil saw a 32% improvement in hydration and 27% reduction in inflammation after 4 weeks (Wiley Online Library). At Blistex Ltd, our team has tested dozens of combinations—our founder’s sensitive skin stabilized only after switching to a minimalist sunflower-seed + chamomile blend. Learn more about our commitment to evidence-based skincare on our About Us page.
And if you’re experimenting at home? Track changes in a journal. Note texture, redness, and breakout patterns. Consistency beats complexity.
Frequently Asked Questions
Can I use cooking oils to make face oil?
No. Culinary oils aren’t refined for topical use and may contain impurities that irritate skin. Always use cosmetic-grade, cold-pressed, unrefined carrier oils labeled for skincare.
How long does homemade face oil last?
Made with fresh, high-quality oils and stored properly, most blends last 3–6 months. Discard if smell turns rancid or texture thickens unexpectedly.
Is it safe to add vitamin E as a preservative?
Vitamin E (tocopherol) is an antioxidant that slows oxidation—but it’s NOT a preservative against microbial growth. Since oil-based formulas lack water, they don’t need traditional preservatives, but vitamin E can extend shelf life slightly.
Can I make face oil for acne-prone skin?
Yes—but choose non-comedogenic bases like jojoba or hemp seed oil, avoid heavy oils (coconut, wheat germ), and never overdo essential oils. Less is truly more.
Where can I buy reliable ingredients?
Look for suppliers with GC/MS reports and organic certifications. Always check sourcing transparency. If in doubt, reach out—we’re happy to help via our Contact Us page.
Does making my own face oil void privacy concerns?
Only if you share personal data during purchases. We prioritize your security—read our full policy at Privacy Policy.
So go ahead—craft your perfect elixir. But remember: great skincare isn’t about shortcuts. It’s about intention, precision, and listening to your skin. Now, if you’ll excuse me, I’ve got a fresh batch of chamomile-juniper blend calling my name…